本文最后更新于:2024年4月25日 上午
项目初始化
使用vite快速生成React18项目
1
2
3
| pnpm create vite
> react
|
快速开始
src目录新建main.jsx作为入口
src/main.jsx
1
2
3
4
5
6
7
8
9
10
11
12
13
14
15
16
17
18
|
import { createRoot } from "react-dom/client";
improt { StrictMode } from "React";
const root = createRoot(document.getElementById("root"));
root.render(<h1>🎉Hello React</h1>);
|

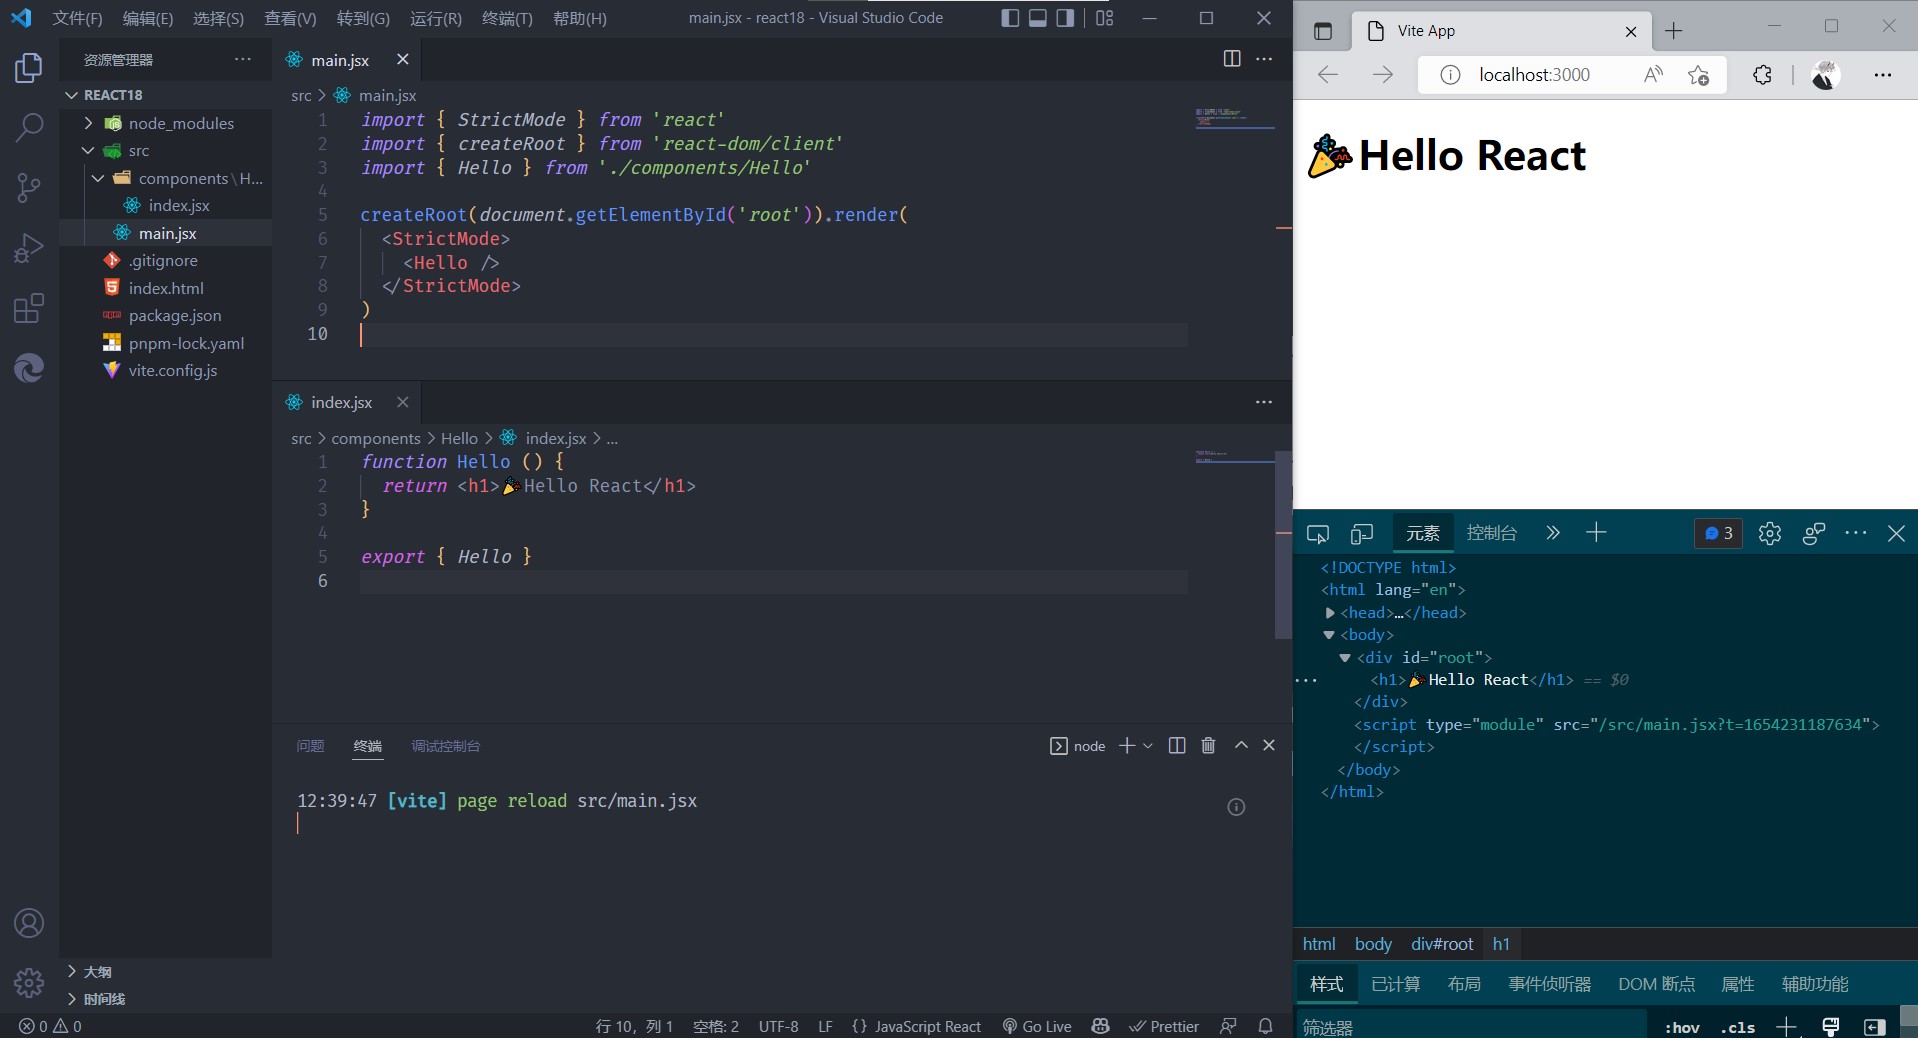
组件
src新建components文件夹存放组件
components文件夹新建Hello文件夹封装<h1>🎉Hello React</h1>
src/components/Hello/index.jsx
1
2
3
4
5
| function Hello () {
return (<h1>🎉Hello React</h1>)
}
export { Hello }
|
src/main.jsx
1
2
3
4
5
6
7
8
9
| import { StrictMode } from 'react'
import { createRoot } from 'react-dom/client'
import { Hello } from './components/Hello'
createRoot(document.getElementById('root')).render(
<StrictMode>
<Hello />
</StrictMode>
)
|
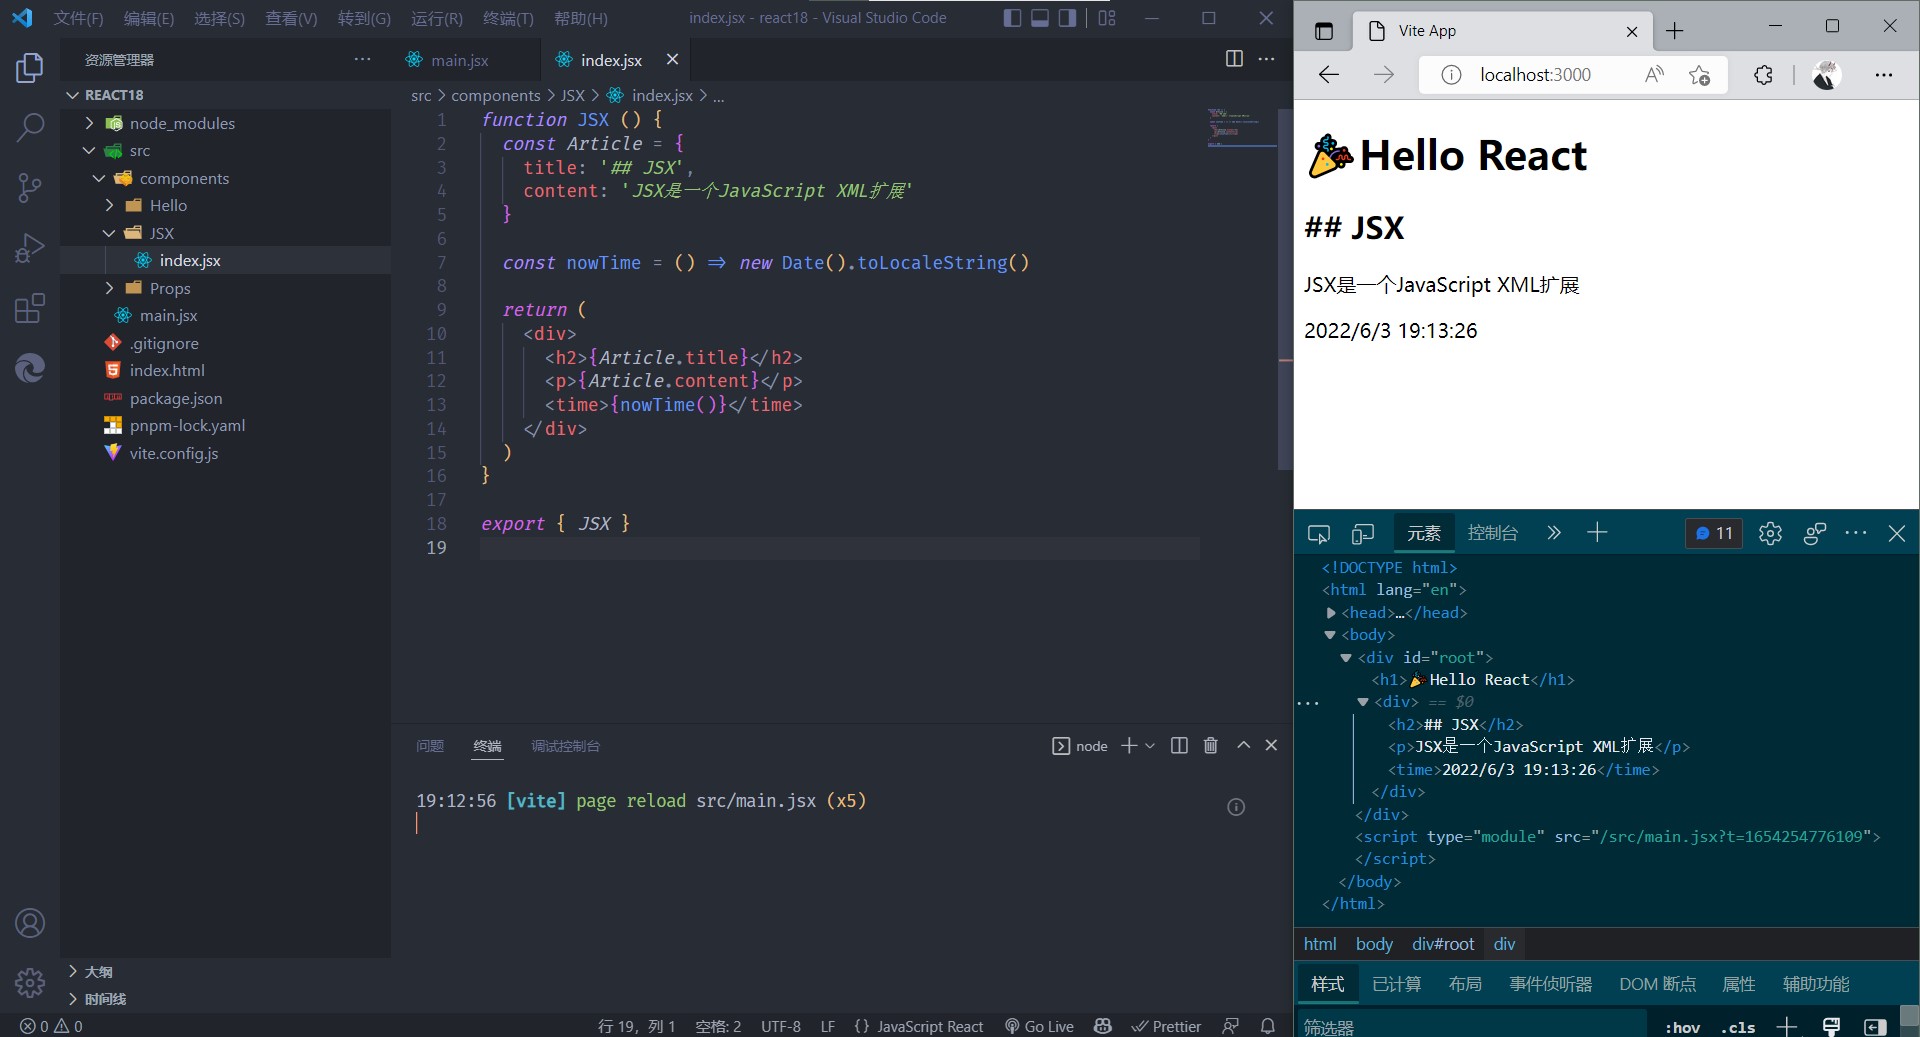
JSX
src/components/JSX.jsx
1
2
3
4
5
6
7
8
9
10
11
12
13
14
15
16
17
18
| function JSX () {
const Article = {
title: '## JSX',
content: 'JSX是一个JavaScript XML扩展'
}
const nowTime = () => new Date().toLocaleString()
return (
<div>
<h2>{Article.title}</h2>
<p>{Article.content}</p>
<time>{nowTime()}</time>
</div>
)
}
export { JSX }
|
src/main.jsx
1
2
3
4
5
6
7
8
9
|
import { JSX } from './components/JSX'
createRoot(document.getElementById('root')).render(
<StrictMode>
<Hello />
<JSX />
</StrictMode>
)
|
幽灵标签
当有多个根节点时,函数会报错,这时可以使用React.Fragment组件实现多个根节点的效果
1
2
3
4
5
6
7
8
9
10
| import { Fragment } from 'react'
export function Menu() {
return (
<Fragment>
<a>Home</a>
<a>User</a>
</Fragment>
)
}
|
通常简写空标签
1
2
3
4
5
6
7
8
| export function Menu() {
return (
<>
<p>Home</p>
<p>User</p>
</>
)
}
|
CSS样式
className
可使用className(即HTML标签的class)属性为组件添加CSS样式
src/components/CssClass/index.css
1
2
3
4
5
6
7
8
9
10
11
12
| .content {
color: #4ebe54;
font-weight: 600;
}
.content>.red {
color: #ff6262;
}
.content>.blue {
color: #125dff;
}
|
src/components/CssClass/index.jsx
1
2
3
4
5
6
7
8
9
10
11
12
13
14
15
16
17
18
| import './index.css'
function CssClass() {
const color = 'blue'
return (
<div>
<h2>## ClassName</h2>
<p className="content">
<span className="red">红色</span>
<span className={color}>蓝色</span>
<span>绿色</span>
</p>
</div>
)
}
export { CssClass }
|
src/main.jsx
1
2
3
4
5
6
7
8
9
10
11
12
13
| import { StrictMode } from 'react'
import { createRoot } from 'react-dom/client'
import { Hello } from './components/Hello'
import { CssClass } from './components/CssClass'
createRoot(document.getElementById('root')).render(
<StrictMode>
<Hello />
<p className="content">外部content样式</p>
<CssClass />
</StrictMode>
)
|
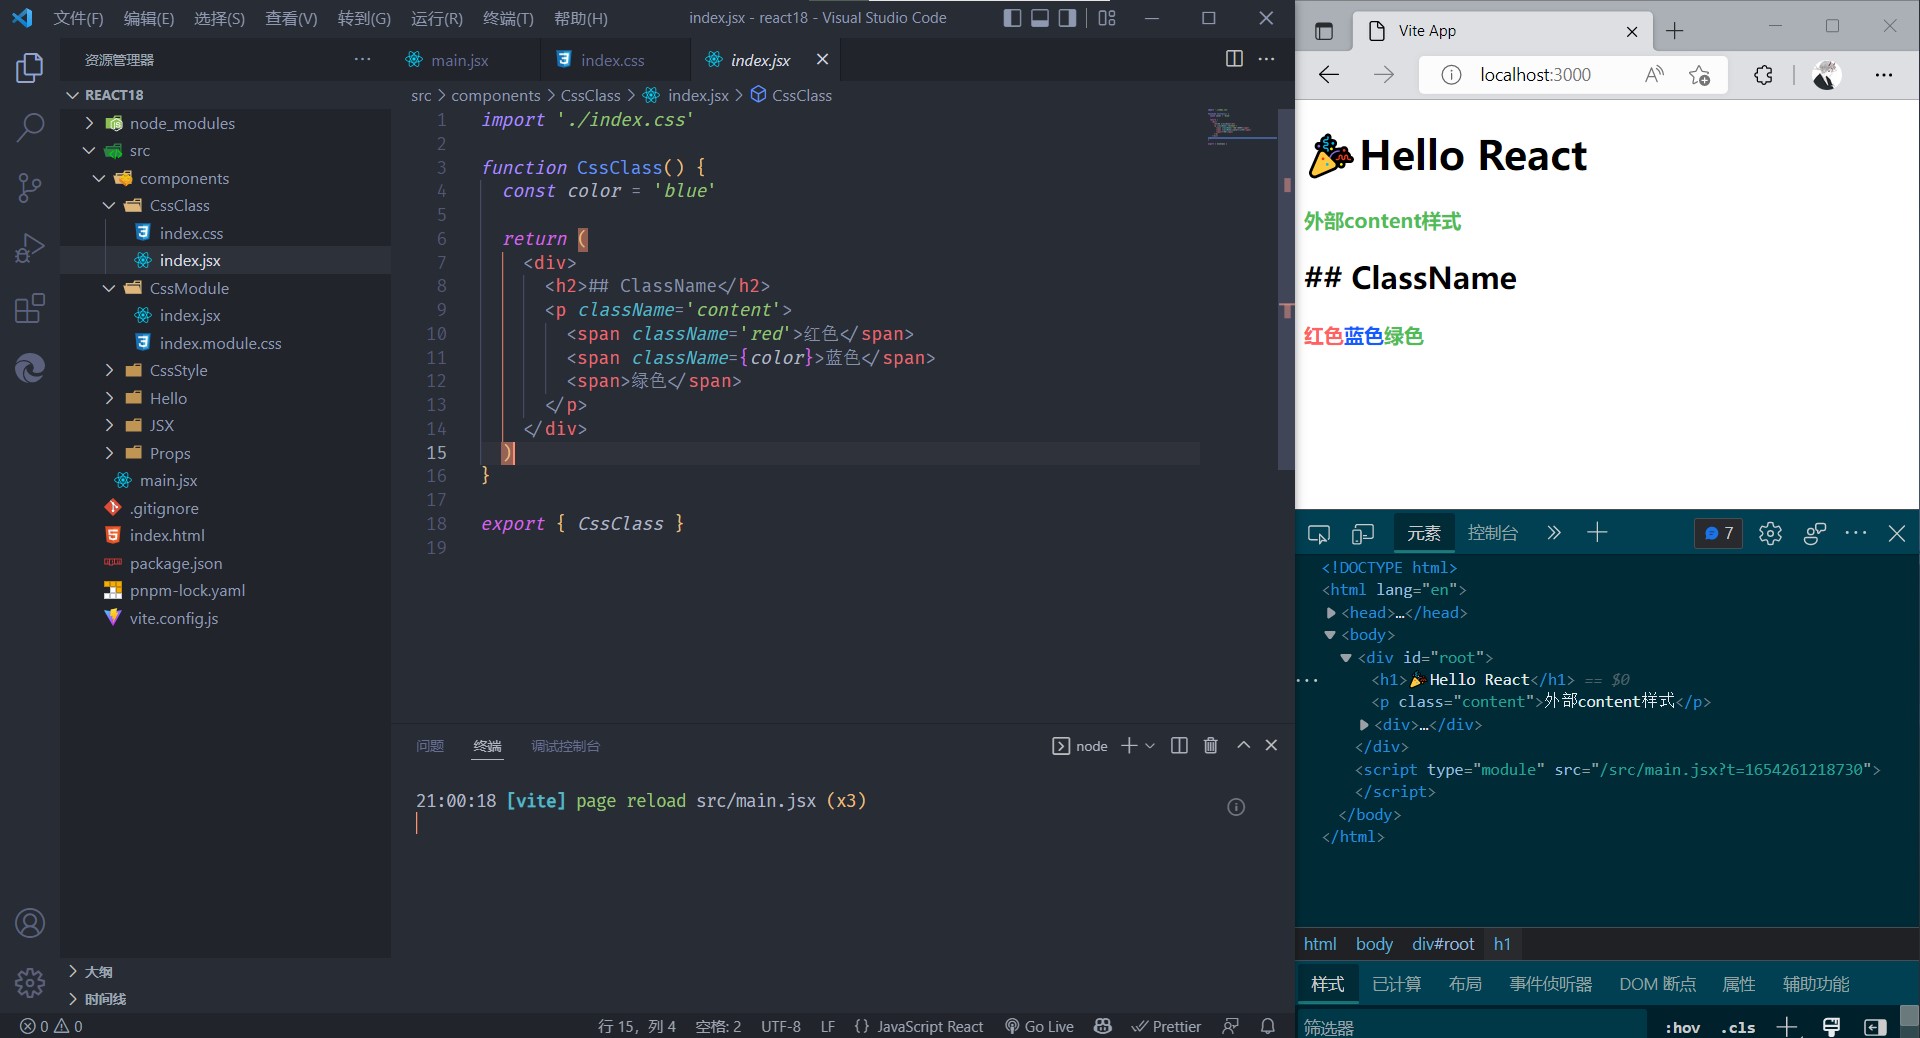
可以看到组件的CSS会作用到全局,若class名称相同就会很麻烦
style内联
使用内联的CSS可避免样式的污染
src/components/CssStyle/index.jsx
1
2
3
4
5
6
7
8
9
10
11
12
13
14
15
16
17
18
19
20
21
22
23
24
25
26
27
28
29
| function CssStyle () {
const color = 'blue'
const styles = {
content: {
color: '#4ebe54',
fontWeight: '600',
},
red: {
color: '#ff6262',
},
blue: {
color: '#125dff',
},
}
return (
<div>
<h2>## CSS Style</h2>
<p style={styles.content}>
<span style={styles.red}>红色</span>
<span style={styles[color]}>蓝色</span>
<span>绿色</span>
</p>
</div>
)
}
export { CssStyle }
|

React官方不推荐使用内联样式,并且写内联CSS可能没有语法提示,效率较低
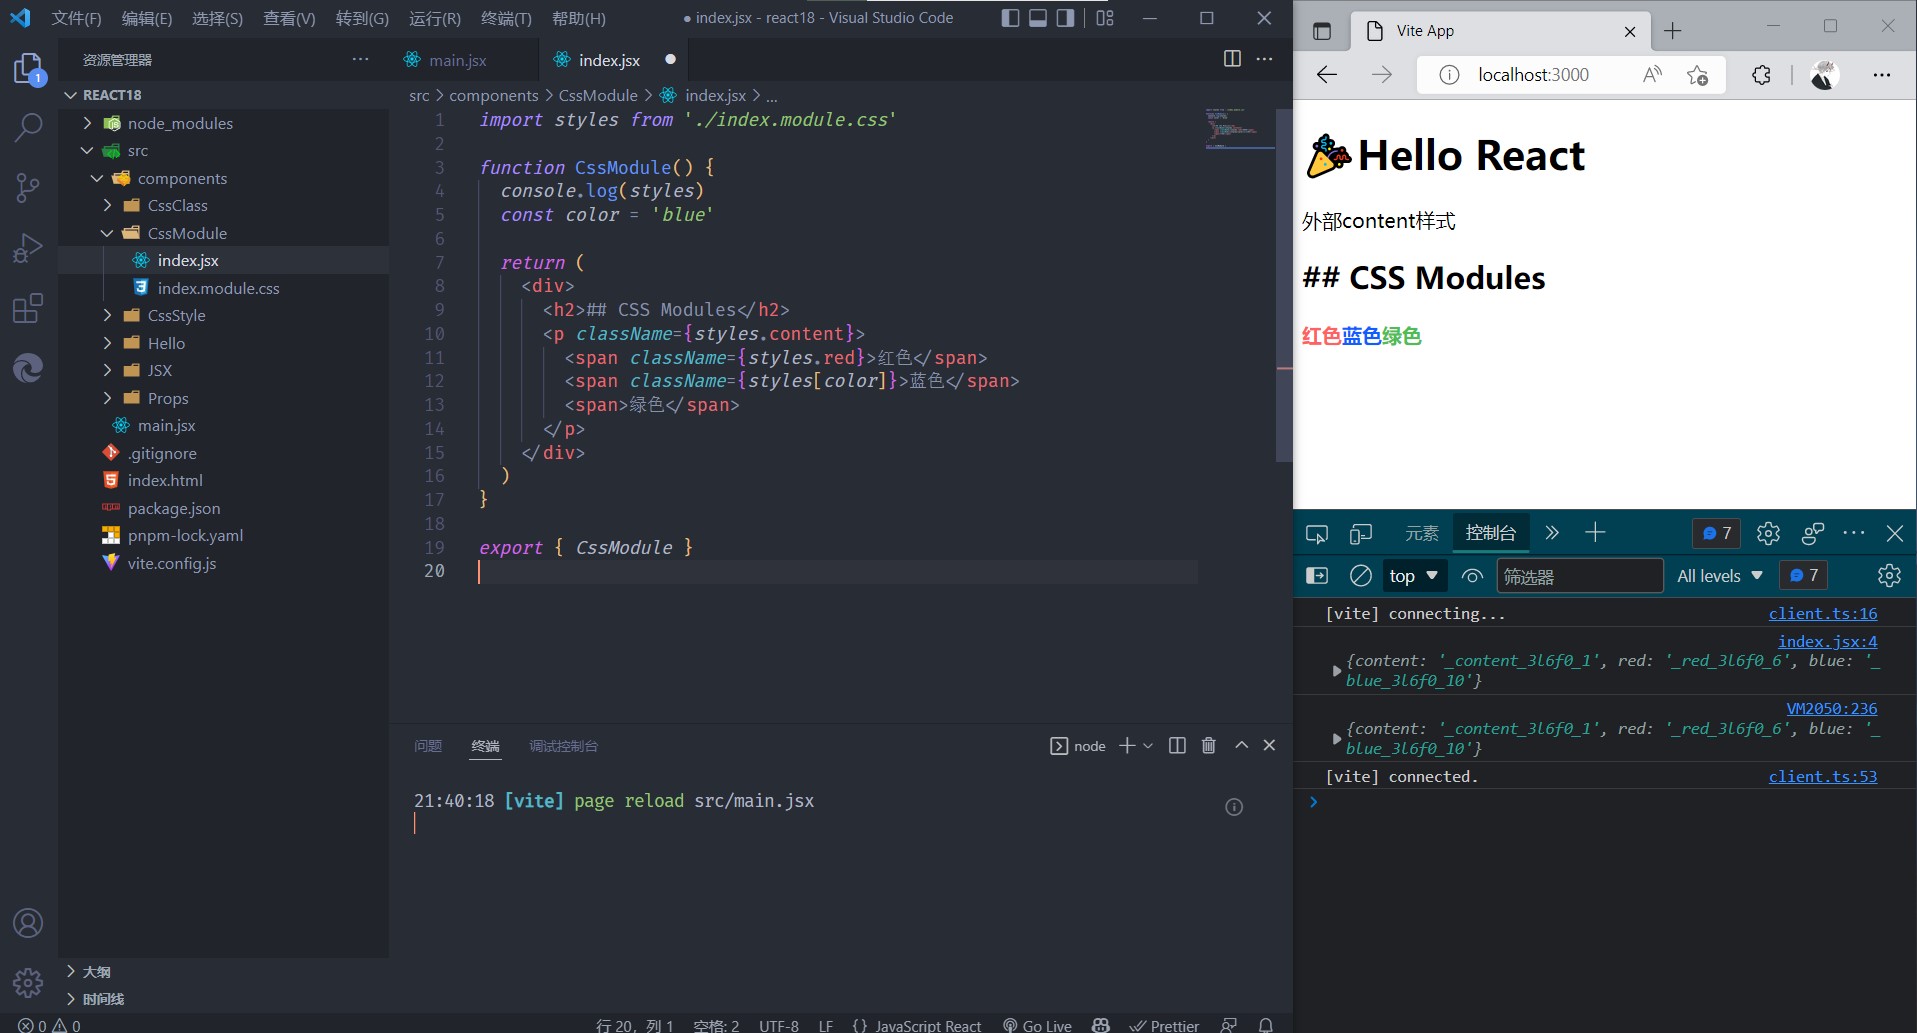
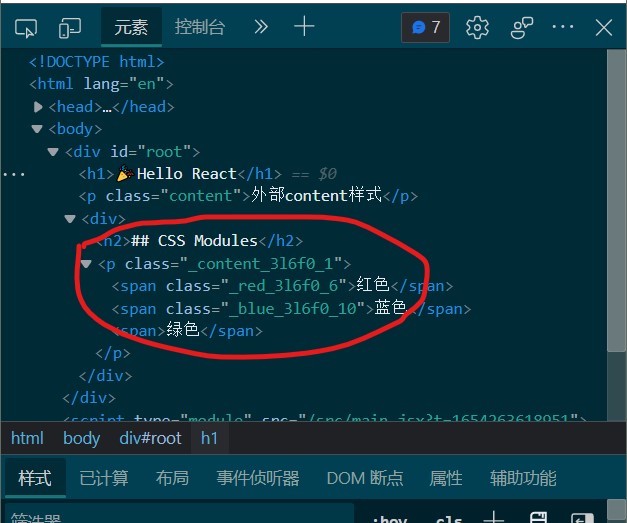
CSS modules
使用打包工具为CSS自动配置一个哈希值来模拟一个私有CSS
使用vite可方便的配置CSS modules
vite.config.js
1
2
3
4
5
6
7
8
9
|
export default defineConfig({
css: {
modules: true,
}
})
|
src/components/CssModules/index.module.css
1
2
3
4
5
6
7
8
9
10
11
12
| .content {
color: #4ebe54;
font-weight: 600;
}
.content>.red {
color: #ff6262;
}
.content>.blue {
color: #125dff;
}
|
src/components/CssModuls/index.jsx
1
2
3
4
5
6
7
8
9
10
11
12
13
14
15
16
17
18
19
| import styles from './index.module.css'
function CssModule() {
console.log(styles)
const color = 'blue'
return (
<div>
<h2>## CSS Modules</h2>
<p className={styles.content}>
<span className={styles.red}>红色</span>
<span className={styles[color]}>蓝色</span>
<span>绿色</span>
</p>
</div>
)
}
export { CssModule }
|
组件传参
函数组件可接收一个对象(Object),其含有传递给组件的参数
src/components/Props/index.jsx
1
2
3
4
5
6
7
8
9
10
11
12
13
14
| function Props(props) {
return (
<div>
<h2>## Props</h2>
<p>
{props.name} is
<time> {props.age} </time>
year old.
</p>
</div>
);
}
export { Props };
|
src/main.jsx
1
2
3
4
5
6
7
8
9
|
import { Props } from './components/Props'
createRoot(document.getElementById('root')).render(
<StrictMode>
<Hello />
<Props name="Jonathan" age="20" />
</StrictMode>
)
|

State
state用于实现值改变时实现视图的重新渲染
若要实现一个计数器组件,使用下面的写法时,count值在按钮点击时会改变,但DOM实例并没有更新.
若我们在触发count值改变后手动render组件则可以改变DOM实例.
src/components/State/index.jsx
1
2
3
4
5
6
7
8
9
10
11
12
13
14
15
16
17
18
| function Counter() {
let count = 1;
const setCounte = () => {
count++;
console.log(count);
};
return (
<div>
<h2>## State</h2>
<p>{count}</p>
<button onClick={setCounte}>+</button>
</div>
);
}
export { Counter };
|
state就是用于在值变化后自动render的,计数器组件可改写为如下形式,
1
2
3
4
5
6
7
8
9
10
11
12
13
14
15
16
17
18
19
20
21
22
23
24
25
26
27
28
29
30
31
32
33
34
35
36
| import { useState } from 'react'
function Counter() {
const [count, setCount] = useState(1);
const setCounte = () => {
setCount((preCount) => {
preCount + 1
})
}
return (
<div>
<h2>## State</h2>
<p>{count}</p>
<button onClick={setCounte}>+</button>
</div>
);
}
export { Counter };
|
setState()为异步执行setState()有diff算法优化,当值不同时才会重新刷新- 推荐使用回调函数方式设置
state
使用state双向绑定
类似v-model
1
2
3
4
5
6
7
8
9
10
11
12
13
14
15
16
17
18
19
| import { useState } from 'react'
export function Form() {
const [name, setName] = useState('')
const inputHandle = (e) => {
setName(e.target.value)
}
const clearHandle = () => setName('')
return (
<>
<input value={name} onChange={inputHandle} />
<button onClick={clearHandle}>清除</button>
</>
)
}
|
整合state状态变更
useRudecer可以将对state的变更操作集中管理,使代码更易维护
1
2
3
4
5
6
7
8
9
10
11
12
13
14
15
16
17
18
19
20
21
22
| import { useState } from 'react'
export function Counter() {
const [count, setCount] = useState(1)
const subHandle = () => {
setCount((count) => count - 1)
}
const addHandle = () => {
setCount((count) => count + 1)
}
return (
<div>
<h2>## useReducer</h2>
<button onClick={subHandle}>-</button>
<span>{count}</span>
<button onClick={addHandle}>+</button>
</div>
)
}
|
useReducer第一个参数接受一个函数,用于变更state,第二个参数为初始state值
钩子函数同useState返回一个数组,第一个元素为state,第二个元素为一个函数用于派发操作给传入的回调函数.
回调函数接受两个参数
state即当前stateaction即为使用dispatch时传入的参数,可依据此参数来进行不同的操作,通常使用switch语句筛选- 参数名可自定义
1
2
3
4
5
6
7
8
9
10
11
12
13
14
15
16
17
18
19
20
21
22
23
24
25
26
27
28
| import { useReducer } from 'react'
export function UseReducer() {
const [count, countDispatch] = useReducer((state, action) => {
switch (action) {
case 'ADD':
return state + 1
case 'SUB':
return state - 1
default:
return state
}
}, 0)
const subHandle = () => countDispatch('SUB')
const addHandle = () => countDispatch('ADD')
return (
<div>
<h2>## useReducer</h2>
<button onClick={subHandle}>-</button>
<span>{count}</span>
<button onClick={addHandle}>+</button>
</div>
)
}
|
子代传参
React.createContext函数可以将props注入至所有子组件中
src/store/UserContext.js
1
2
3
4
5
6
7
| import { createContext } from 'react'
export const UserContext = createContext({
name: 'Jonathan',
age: 20,
})
|
组件获取
1
2
3
4
5
6
7
8
9
10
11
12
13
14
15
| import { UserContext } from '../../store/UserContext'
export default function UseContext() {
return (
<UserContext.Consumer>
{(ctx) => (
<>
<p>name: {ctx.name}</p>
<p>age: {ctx.age}</p>
</>
)}
</UserContext.Consumer>
)
}
|
组件内使用回调函数获取上下文参数
钩子函数获取
1
2
3
4
5
6
7
8
9
10
11
12
13
14
| import { UserContext } from '../../store/UserContext'
import { useContext } from 'react'
export default function UseContext() {
const UserCTX = useContext(UserContext)
return (
<>
<p>name: {UserCTX.name}</p>
<p>age: {UserCTX.age}</p>
</>
)
}
|
通常使用钩子函数的方式获取上下文对象
注入参数
当前的UserContext参数无法修改,且更改后不会触发组件重新渲染
UserContext的参数应由UserContext.Provider提供
子组件接收的context层级为最近的UserContext.Provider > UserContext.js(类似函数作用域)
且提供useState的state参数与setState方法来实现响应式更新
src/store/UserContext.js
1
2
3
4
5
6
7
8
9
| import { createContext } from 'react'
export const UserContext = createContext({
name: '',
age: 0,
updateName: () => {},
updateAge: () => {},
})
|
该文件用于定义context的结构
src/components/UseContext/index.jsx
1
2
3
4
5
6
7
8
9
10
11
12
13
14
15
16
17
18
19
20
21
22
| import { UserContext } from '../../store/useUserStore'
import { useState, useContext } from 'react'
import Child from './Child'
export default function UseContext() {
const [userInfo, setUserInfo] = useState({ name: 'Jonathan', age: 0 })
const updateAge = (newage) => {
setUserInfo({ ...userInfo, age: newAge })
}
const updateName = (newName) => {
setUserInfo({ ...userInfo, name: newName })
}
return (
<UserContext.Provider value={{ ...userInfo, updateAge, updateName }}>
<Child />
</UserContext.Provider>
)
}
|
将state与setState传入context使子组件可以获取与更新state
src/components/UseContext/Child.jsx
1
2
3
4
5
6
7
8
9
10
11
12
13
14
15
16
17
18
19
20
| import { UserContext } from '../../store/useUserStore'
import { useContext } from 'react'
export default function Child() {
const { name, age, updateAge } = useContext(UserContext)
const addAgeHandle = () => {
updateAge(age + 1)
}
return (
<>
<p>name: {name}</p>
<p>age: {age}</p>
<button onClick={addAgeHandle}>add age</button>
</>
)
}
|
使用解构方式获取的context依然具有响应式
子组件添加缓存
当父组件重新渲染时,React默认会重新渲染所有的子组件(无论props或state是否变化)
React.memo函数可以将组件进行缓存,只有state或props更新时才会重新渲染
src/components/Memo/index.jsx
1
2
3
4
5
6
7
8
9
10
11
12
13
14
15
| import { useState } from 'react'
import Child from './Child'
export default function () {
const [count, setCount] = useState(0)
return (
<div>
<p>count: {count}</p>
<Child num={~~(count / 2)} />
<button onClick={() => setCount(count + 1)}>增加</button>
</div>
)
}
|
只有count增加2时子组件props才会更新
src/components/Memo/Child.jsx
1
2
3
4
5
6
7
8
9
10
11
| import { memo } from 'react'
function Child({ num }) {
console.log('Child render')
return <p>half of num = {num}</p>
}
export default memo(Child)
|
使用React.memo方法包裹组件后开启缓存
useCallback
使用memo后若父组件传了一个回调函数给子组件,那么当父组件更新后子组件依然会更新,因为回调函数会重新创建.
使用useCallback函数可以取消回调函数的重新创建.
src/components/Memo/Child.jsx
1
2
3
4
5
6
7
8
9
10
11
12
13
14
15
16
17
18
19
| import { useState, useCallback } from 'react'
import Child from './Child'
export default function UseCallback() {
const [count, setCount] = useState(0)
const addHandle = useCallback(() => {
setCount((count) => count + 1)
}, [])
return (
<>
<p>count: {count}</p>
<button onClick={addHandle}>add</button>
<Child addHandle={addHandle} />
</>
)
}
|
src/componetns/UseCallback/Child.jsx
1
2
3
4
5
6
7
8
9
10
11
12
13
14
| import { memo } from 'react'
function Child({ addHandle }) {
console.log('Child render')
return (
<>
<button onClick={addHandle}>child add</button>
</>
)
}
export default memo(Child)
|
此时点击子组件或父组件的按钮时子组件均不会重新渲染
useEffect
在组件创建后执行,类似于useCallback,但useEffect是直接执行回调函数
1
2
3
4
5
6
7
8
9
10
11
12
13
14
15
16
17
18
| import { useEffect } from 'react'
import { useState } from 'react'
export default function UseEffect() {
const [count, setCount] = useState(0)
console.log('render')
useEffect(() => {
setCount(count + 1)
}, [])
return (
<>
<p>{count}</p>
</>
)
}
|
若不添加依赖数组则会不断执行effect
回调函数可以返回一个函数,这个函数会在下一次effect执行时调用.
可以很方便的为副作用中的操作添加防抖,节流等功能
1
2
3
4
5
6
7
8
9
10
11
12
13
14
15
16
17
18
19
20
21
22
23
24
25
26
27
28
| import { useEffect } from 'react'
import { useState } from 'react'
export default function UseEffect() {
const [input, setInput] = useState('')
const [length, setLength] = useState(0)
const changeHandle = (e) => {
setInput(e.target.value)
}
useEffect(() => {
console.log('useEffect')
const timer = setTimeout(() => {
console.log('useEffect timer')
setLength(input.length)
}, 500)
return () => clearTimeout(timer)
}, [input])
return (
<>
<p>string length = {length}</p>
<input value={input} onChange={changeHandle} />
</>
)
}
|
获取原生DOM元素
使用echarts等图标库时经常需要获取一个DOM元素
可以直接使用document的原生方法获取DOM但效率不高.
useRef()函数可返回一个对象, 在jsx上添加ref属性获取DOM对象
使用useRef获取的对象不会在组件重新渲染时重新创建
1
2
3
4
5
6
7
8
9
| import { useRef } from 'react'
function GetDom() {
const domH2 = useRef()
return (
<h2 ref={ domH2 }>Ref</h1>
)
}
|